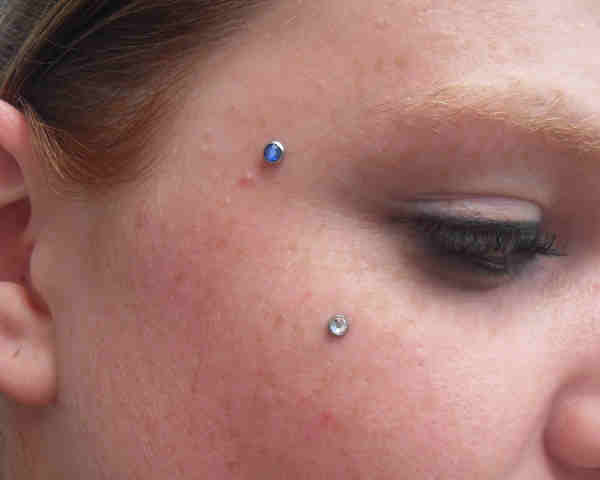
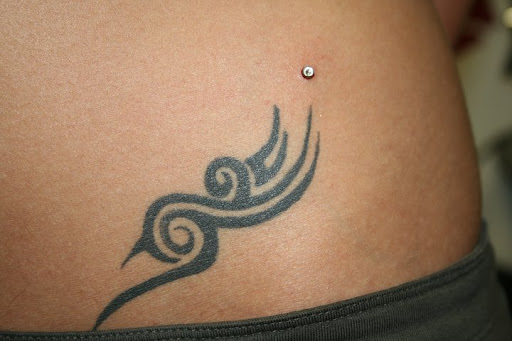
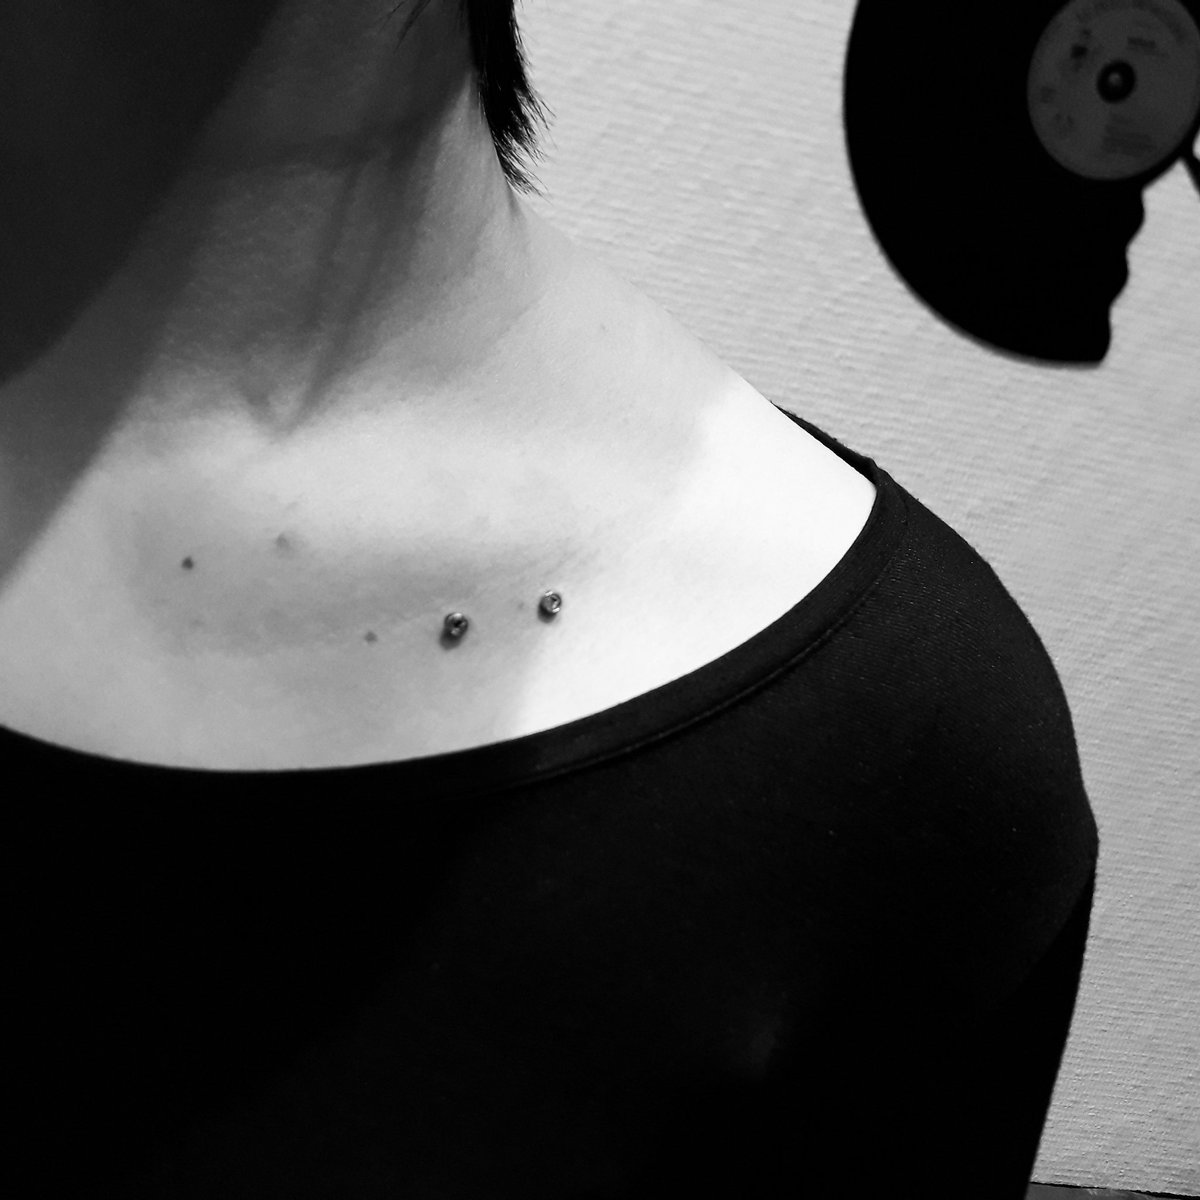
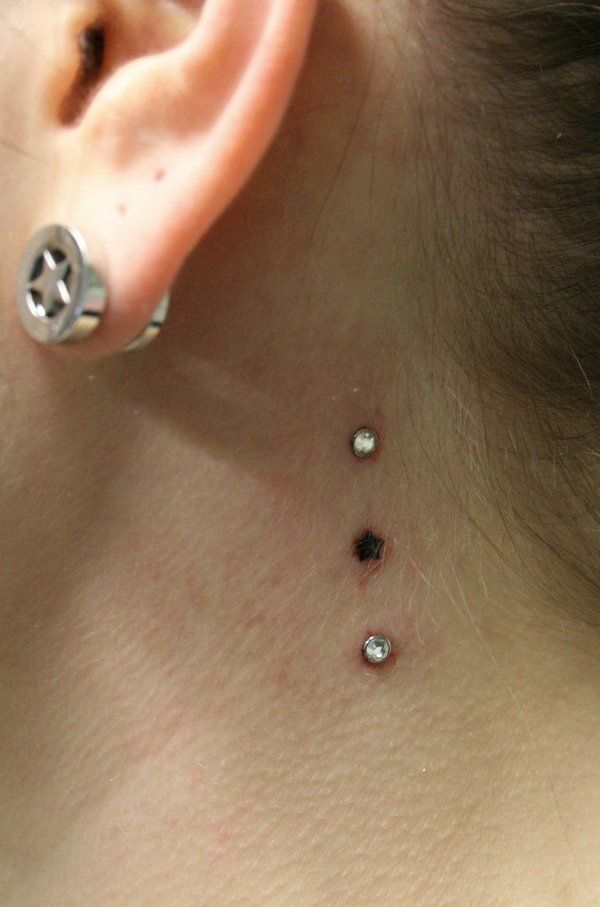
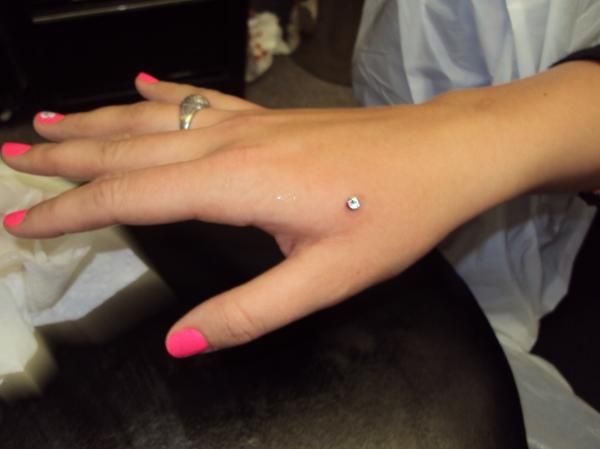
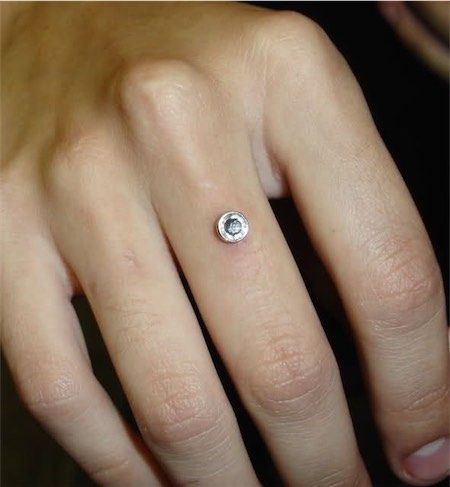
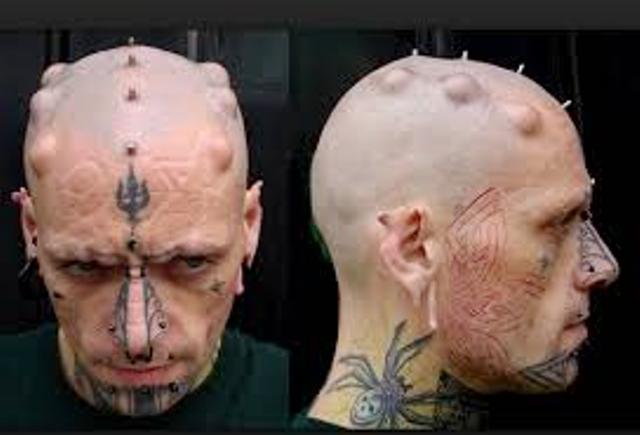
There have been many kinds of facial piercing available in recent years and seeing them up close and in person gives you an excellent idea of why they have become so popular. There is often confusion between dermal piercings and regular piercings, but they are entirely different. For example, dermal piercings are referred to as surface body piercings, which means that only one end of the piercing protrudes from the skin. In some piercings, there is only one end that penetrates the skin, therefore they are called single-point piercings. In today’s society, it’s more popular than ever to get skin piercings and implants, which is why they are constantly evolving and improving. As a result of the advancement in dermal piercing over the past few years, they came up with micro dermal implants. Here is a guide describing everything you need to know about micro dermal implants.
When it comes to micro dermal anchors, they are single-pointed and differ from body or surface piercings. To understand how micro dermal jewelry works, you must know its two parts. There are a few tiny round holes in the anchor, which is a very small metal piece. In this piece, the skin adheres to itself and holds it in place as the holes allow the skin to adhere to itself. Another part of the micro dermal is a bead, also known as a gem. There is no end visible other than this one.
In this article, we would discuss what are Microdermal Implants and how to go about this procedure. We have brought the maximum information about all that is there to these implants and what should you expect about getting them. We would suggest that you consult your physician before making any decisions.
What are Microdermal Implants?
Contents (Click to Jump)
It’s just another form of dermal piercing, but a much smaller one, making it much more subtle. Microdermal implants are also known as single-point piercings because they’re intended to be much smaller. In the past, dermal piercings were primarily popular amongst body modifiers who wanted to enhance their appearance. This was because the piercings were so large. The advent of micro dermal has changed that dramatically, allowing even the more conservative of body art enthusiasts to get dermal piercings and anchors. Despite all these advantages, they’re frequently referred to as one of the top piercings because they’re small, easy to implant, can be accessed easily, and are easy to insert, making them a crowd favorite. Their anchors are flat pieces of metal that stick out like a foot and keep their implants firmly in place. Microdermal implant anchors, for example, are being designed with tiny holes punched into them to enhance the healing process. The holes will allow the surrounding tissue to enclose the anchor when it heals, which will in turn give them a much stronger grip and help them breathe.
How are Micro dermal Implants Inserted?
There are two main ways in which micro dermal piercings can be inserted into the skin: either by using an everyday piercing needle or by using a tool called a “dermal punch.” Of the two, punches to the dermis are the more common and most widely used method, but there are diverging thoughts as to which technique is the most effective. Some piercers prefer the dermal punch. After all, they feel it is less painful and less stressful, whereas others prefer regular piercing needles because they avoid the chance of infection setting in (providing they are sterilized properly). Dermal punches have been outlawed in some US states, which means that piercing needles are the only option.
Piercings of the skin are usually accomplished using needles or skin punches. Both approaches require placing an anchor underneath the skin.
The following steps should be taken for a needle dermal piercing:
- The piercer cleans your skin, making sure it is completely sterile.
- When the area has dried, your skin will be marked with a pen or marker so that the piercing is created in the right place.
- The needle will puncture the skin and it will be pulled out again. As a result, a “pocket” is created for the anchor to sit in.
- Your piercer will likely use forceps to insert the anchor’s base into the hole. A member of the staff will push the jewelry in until it is completely embedded under the skin.
- When your piercer has set the anchor, the jewelry top will be screwed on.
A dermal piercing by skin punch involves following the same steps as above, except that the hole is made by a punch rather than a needle. By punching a small piece of tissue from the skin, the anchor can be placed in the pocket that is created.
Which Jewelry is Available?
In the case of micro dermal implants, titanium and stainless steel are the most commonly used metals. There are two primary types of titanium: titanium is the more common and therefore more preferred since statistics indicate that titanium is less likely to be rejected than other metals, like stainless steel. A titanium micro dermal implant is less likely to cause rejection in the body than a similar implant made from another type of material. Although there are many types, designs, colors, and sizes of jewels to choose from, there are generally only one or two sizes to choose from. Because the visible jewel on the skin is what attracts attention, bright colors and bold designs are very popular. In addition to micro dermal implants, other popular types and styles include:
Skin divers. Implants of this type are very similar to the standard micro dermal anchor, except that instead of having a long base, they have a pointed and small base shaped like an arrow. Based on the actual gem itself, the base should be of the same size. In addition, removing skin divers is much easier and more efficient, and less damaging to the surrounding tissue because there are no holes. Unlike basic anchors, skin divers are unable to attach or remove their tops, making it impossible to replace the jewel as easily as they can with a basic anchor.
Skin diver wheels. They are considered hybrids of traditional micro dermal implants and skin divers. Although the stem (ankle) is the same, the base is different and in the shape of a rudder, hence the name. In addition to the large holes in the base of these implants, they contain a series of small holes to allow the tissue to grow through and anchor itself. As well as the top, the bottom can be interchanged
If you are considering one of the following options, please speak to your piercer:
- Surgical titanium. Titanium may cause the least amount of irritation for individuals with sensitive skin.
- Surgical stainless steel. Notes dating, these materials are the most popular. Although it is hypoallergenic, it is still possible to be irritated by it.
- Niobium. Hypoallergenic and unlikely to corrode, this material is also hypoallergenic and hypoallergenic.
- Gold. Gold is important when it comes to quality. The healing process is more effective when you use gold that is 14 karat or white. The durability of gold above 18 karats isn’t as good. Infection or allergic reactions can result from gold-plated jewelry.
Why are Micro Dermal Implants So Popular?
In a nutshell, micro dermal implants are considered so popular for a few reasons, though the two main reasons are: the ability to implant them onto practically any flat surface on the body, and the simplicity of changing the jewels heads. By simply screwing on or off a jewel onto or off of the anchor, you can easily adjust the type of jewel you wish to wear at any time, using the little time and effort you have.
What Risks are Associated With This Piercing?
Despite being popular and highly versatile, dermal piercings also carry a significant risk of complications. Make sure you talk over your piercer’s risks before getting your piercing:
- Infection. If the piercing is not performed in a sterile environment or if aftercare is overlooked, bacteria will spread deep inside the skin.
- Displacement. Anchors are typically inserted deep enough within the dermis to ensure that they will not become dislodged and move to another area of skin.
- Rejection. The rejection process occurs when the distension of the dermis pushes the jewelry out completely. It is common with anchor displacement for your body to react as if it were an unknown foreign object and reject it.
- Tissue damage. It is possible to damage the surrounding blood vessels or nerves if the anchor is inserted too deeply.
- Hypergranulation. In addition to a red bump on the piercing site, hyper granulation is also caused by jewelry that is too tight or when the piercing is otherwise irritated. Makeup or tight fabrics on the surrounding skin, handling jewelry constantly, and improper cleaning are all things that can lead to hyper granulation.
- Scarring. Once you heal the hole after an unsuccessful piercing or otherwise retire the piercing, a small scar will appear.
How Long Does it Take to Heal?
One to three months is usually required for dermal piercings to heal. The piercing may take longer to heal if you fail to follow the aftercare directions given by your piercer. During the first two weeks, there is usually some crusting around the jewelry top and slight swelling. As the healing process proceeds, these symptoms will slowly diminish. Piercings usually aren’t a cause for concern unless they leak yellow or green pus, are hot to the touch, or present other symptoms that indicate a problem.
Cleaning and Care
You must take care of your dermal piercing properly for it to last.
When healing takes place, do the following:
- For a few days, make sure the area is bandaged.
- Hands should be washed with antibacterial soap before handling the area.
- You should use a brand new paper towel every time you clean a piercing.
- You should clean your teeth twice daily with a sea salt solution or a saline solution.
- Any crust that has formed between cleansings should be gently wiped away.
- You should cover the piercing if you will be showering to avoid it getting wet.
- Whenever you wash the area or take a shower, pat it dry after each use.
However, you should not:
- You should wear tight clothing around the piercing.
- Let your hair get tangled in the jewelry.
- Play high-impact sports or engage in other activities where collisions may occur.
- Take a bath, swim, or drown the area that has been pierced.
- To clean the piercing, use antiseptics or antibacterial soap.
- The surrounding area should be rubbed with a towel. Use a patting technique instead.
- Pick off any crust that develops around the piercing.
- After three months or until your piercing has healed, change the jewelry.
- Taking the jewelry off or playing with it is not recommended.
Symptoms to look out for
Although minor swelling and crustiness may be expected with any new piercing, other symptoms may indicate a more severe health issue. The following signs of rejection or infection should be reported to your piercer:
- The pain is severe
- Heavily swollen
- To the touch, the skin is hot
- Discharges of yellow or green color
- Odor of foulness
- Rashes
You might also experience the following with rejection:
- Displacement of jewelry
- Hanging or drooping jewelry instead of sitting flat on the skin
- The jewelry top may be transparent or calloused
- Dislodgement of the anchors completely
How Long Will A Healed Piercing Last?
A dermal piercing does not have a defined timeline. However, over time your skin will grow and the anchor will come up until it falls out. You can experience this within the next three months or three years, depending on how well you take care of your piercing.
What to do when the jewelry top is damaged
As soon as your dermal piercing is fully healed (about three months), you will be able to exchange the external jewelry. The best thing to do is to allow your piercer to do to prevent complications, such as accidental anchor dislodgement.
Following these steps will help you change the jewelry top on your own if you decide to do it yourself:
- Hands should be washed with antibacterial soap before handling the area.
- Sea salt or a saline solution should be used to clean the area.
- Make sure the area is dry by patting it with a towel.
- Using a counterclockwise motion, undo the existing jewelry top. If the top is stubborn, you should visit your piercer. Forceps can be used by your piercer to unscrew the jewelry.
- In a clockwise direction, screw the new jewelry top into place.
- Repeat cleaning the area and patting it dry with a soft cloth.
How Much Does This Piercing Usually Cost?
The cost of a dermal piercing ranges from $70 to $100, according to Cost Helper. Jewelry is sometimes sold separately in some shops. The overall cost may increase by $10 to $20 as a result. Besides the tip, you’ll need to budget for a piercer’s fee. Standard practice is for 20 percent to be used. Also, ask your piercer if any upfront fees will be associated with aftercare, such as the cost of saline solution.
How To Retire The Piercing
Your piercer can professionally remove your dermal piercing if it needs to be retired. Attempting to remove a piercing like this on your own is not recommended.
You can expect your piercer to:
- Pat the area dry after cleaning it with a sterile solution.
- The jewelry top needs to be unscrewed.
- It may help to massage the surrounding skin to loosen the anchor.
- An incision should be made with a scalpel, relative to the anchor base size.
- To remove scar tissue that has formed around an anchor, use a scalpel.
- The anchor should be pulled out with forceps.
- Inspect the area and apply a suture or bandage.
You should talk to your piercer before planning to have the dermal removed, even though you may be able to have it removed by a general practitioner or cosmetic surgeon. Using an outside party to remove the anchor can be pros and cons, and they can provide a referral if necessary.

